
The elderberries are just about ready to harvest and they are plentiful this year! I suppose you could make elderberry jam or elderberry wine with these berries, but my favorite way to use elderberries is to make elderberry syrup! Elderberry syrup is a natural remedy for colds and flu. It’s easy to make, inexpensive and effective!
Naturally high in immune boosting compounds, the dried berries of the elderberry plant (sambucis nigra) are known to help prevent colds and flu. It is also beneficial in speeding the recovery of those who already have the flu. The berries contain high levels of antioxidants, vitamin A, B, and C which all help to stimulate the immune system.
The other ingredients also provide needed benefits to the syrup. Cloves have natural antiseptic and germicidal properties that help fight infection. Ginger root has been noted to have healing properties and cinnamon is a powerful anti-viral and anti-bacterial. And of course, honey, gives the immune system a boost as well.
Mix these all things together and you have a natural way to prevent and treat colds, flu, and sore throats!

HOW TO MAKE HOMEMADE ELDERBERRY SYRUP:
INGREDIENTS:
2/3 cup elderberries
3 1/2 cups water
2 TBSP ginger root
1 tsp cinnamon
1/2 tsp clove
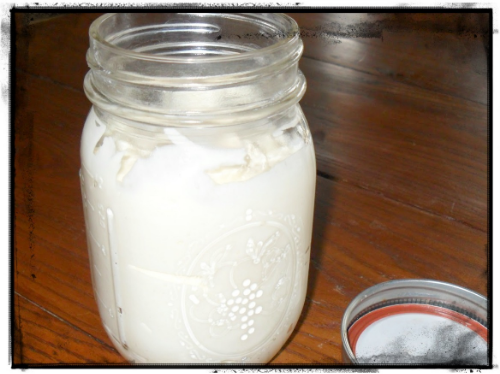
1 cup raw honey
Pour water, elderberries, ginger, cinnamon and clove into sauce pan. Bring water to a boil. Cover and reduce heat to simmer for 45 minutes. Then pour through strainer into glass jar or bowl. Discard the elderberries and let liquid cool until just warm. Add honey and stir well. Store in glass jar in refrigerator.
For prevention, it is recommended that adults take 1/2 to 1 tablespoon daily. Children (not recommended for children under age 1 due to the honey), 1/2 to 1 teaspoon daily. If someone already has the flu increase the normal daily dose to every 2-3 hours. My family also increases dosage at first signs of sore throat, cough, etc.