How to Make the Perfect Pie Crust!

1120151632.jpg

Yes, I'm guilty of buying frozen pie crusts. In the past. If I didn't have a store-bought crust in the freezer, I didn't bake a pie. What was I thinking?!?! I just assumed that making your own pie crusts had to be difficult. Then one day I decided to try the "Never Fail Pie Crust" recipe that I had copied out of a church cookbook years ago. 


 I was skeptical. (Seriously, you're talking about a lady that had Jello fail). But much to my disbelief, my crust turned out perfect the very first time I tried the recipe! Beginner's luck? Nope. Every single time I use this recipe the pie crusts are beautiful! So I suppose the recipe is worthy of it's name. Trust me, once you try this recipe you'll never want to buy frozen pie crusts again! They're easy to make and so delicious!

NEVER FAIL PIE CRUST

Ingredients:

3 cups pie & pastry flour

1 tsp salt

1 cup lard (or shortening)

6 TBSP water

1 tsp white vinegar

1 beaten egg

Cut shortening into flour and salt. Mix water, vinegar and egg together. Add to flour mixture.  Mix by pressing firmly together. Roll out on slightly floured surface.

This recipe usually make two thick crusts or three regular crusts for me. If I'm needing one crust, I simply place the remaining crusts in a ziploc bag and freeze for future use.  

Now, that you have the recipe for making the perfect pie crust, be sure to check out my post on making blackberry pie! Yum!

 

Homemade Convenience Foods

Snack size bags of crackers, frozen pizza, single-serve applesauce cups, and frozen pie crusts are quick and easy foods that are very tempting to throw in your grocery cart. These foods may be easier at the moment but they are also more expensive and probably not the healthiest choices for your family.


With a little planning and preparation you can stock your freezer and pantry with homemade convenience foods that are easy to just heat and serve. The following list is a few of my favorites. Some are really simple to make, others may take a little more preparation, but the effort is definitely worth it!


SNACK SIZE SERVINGS

Pretty much anything can be made into snack-size servings. Simply having oranges peeled, sliced and place in bags is a great way to have a healthy snack on hand. I’ll go ahead and peel a whole bag of oranges as soon as I get home from the grocery store and put them in bags. If I leave the oranges whole, nobody will touch them, but if I have them in convenient little bags ready to eat, they’re sure to be eaten!

Same goes for celery, carrots, cauliflower and broccoli. If they’re in ready-to-eat bags, my family will choose these healthy snacks over a bag of chips.
Another quick and convenient snack is boiled eggs. I like to keep about a half dozen boiled eggs in the refrigerator for snacks and salads.


HASH BROWNS

These do take a little preparation to make them “convenient”. However, once you’ve made these, all you have to do to cook them is pop them in a skillet.
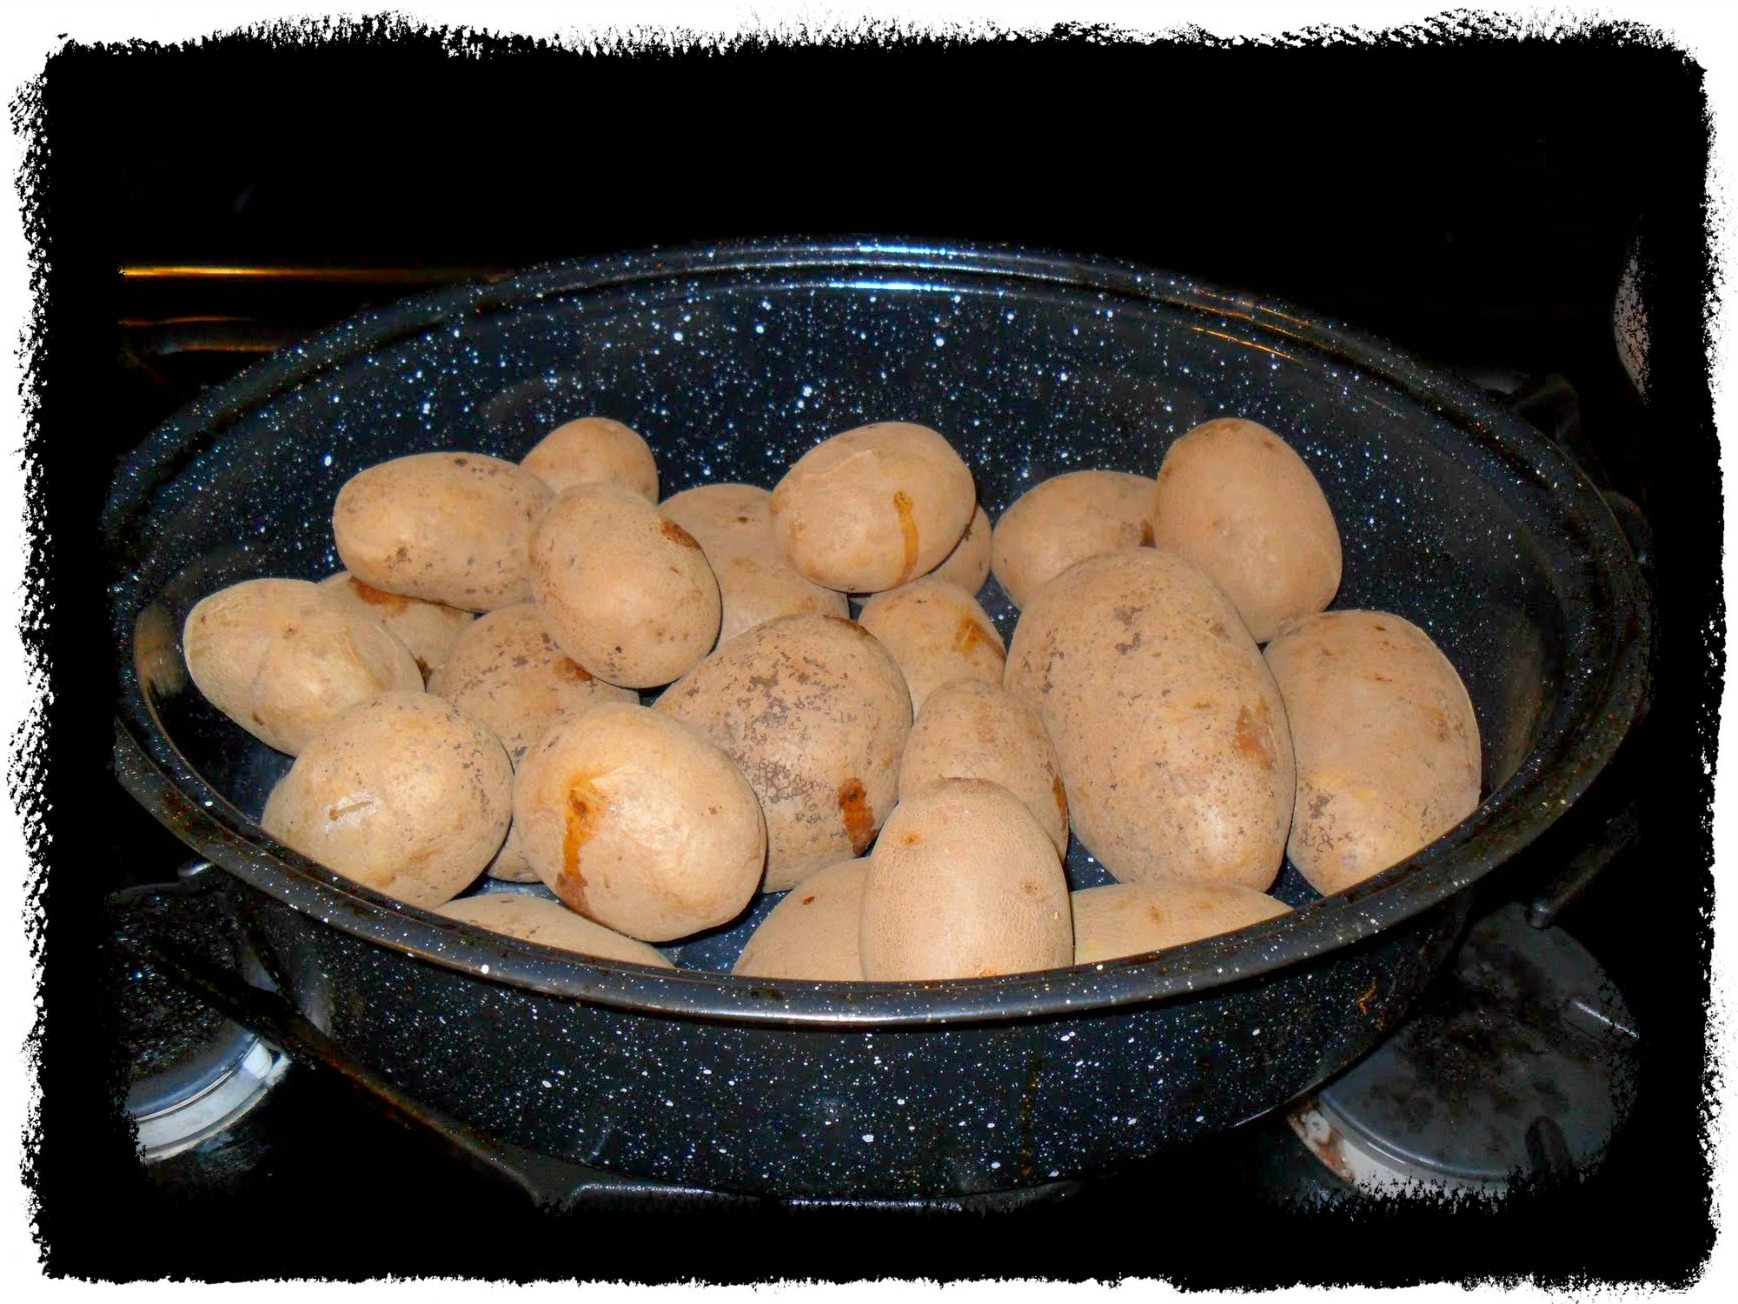
Wash/scrub as many potatoes as you like. (Plan ahead and buy seed potatoes from Buchheit and grow your own!) Bake them in a covered roasting pan for 1 ½ hours at 350 degrees.

Let the potatoes cool, then peel with a knife or vegetable peeler.


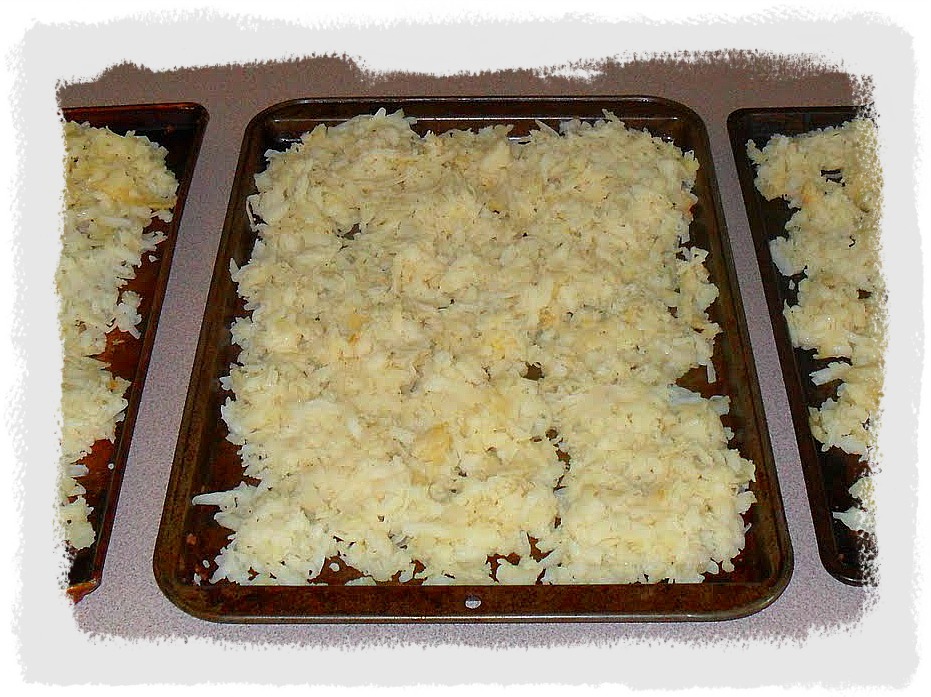
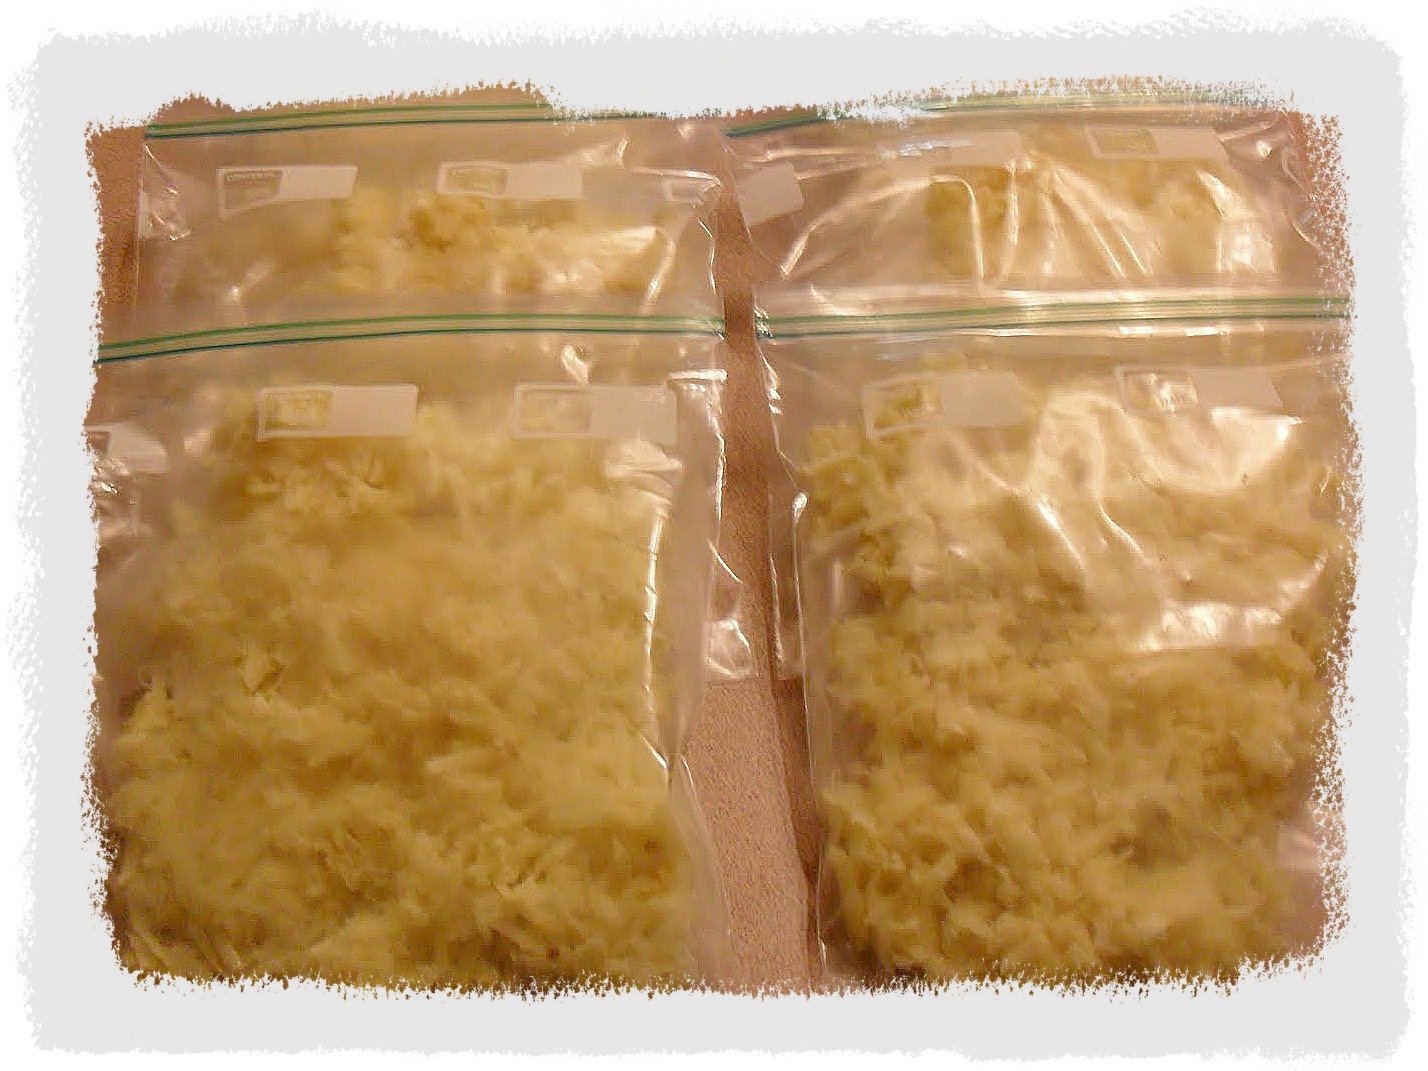
Using a box grater, grate the potatoes onto a cookie sheet. Spread the grated potatoes about an inch thick on the cookie sheet. Place the cookie sheet in the freezer. When the hash browns are frozen, lay them flat in a gallon-size freezer bag or use your Foodsaver to seal them in bags. I store them stacked flat on top of each other in the freezer. No need to buy frozen hashbrowns when you can make your own!


To cook, I melt butter in a skillet and open up a bag of frozen hashbrowns and place the whole frozen piece into the skillet. Let them cook on medium-high until crispy brown on one side, then flip them over and do the same for the other side. Delicious, crispy hashbrowns every time! And so convenient!


CROCKPOT APPLESAUCE


I used to buy those single serve applesauce packs because I thought I was getting a good deal because there were 6 in a package. That was until I witnessed my son eat all 6 cups at one time! Now I make my own applesauce, it tastes much better, it’s cheaper and I know what’s in it!  Lucky for me, my son gave me this apple tree from Buchheit for Mother’s Day last year! We plan to add a couple fruit trees to our homestead each year and Buchheit has a wonderful selection of healthy trees to choose from!

Core and peel the apples. Cut the apples into smaller chunks. Fill crockpot with apples. Add ½ cup water and ½ cup sugar. Sprinkle about 1 tsp cinnamon over apples, if desired. Put lid on crockpot and cook on high for 4 hours or on low overnight. After the apples are cooked, take an immersion blender and blend the apples while in the crockpot. If you don’t have an immersion blend, just pour the apples into regular blender. Pour into mason jars and store in refrigerator or water bath can them for later! I water-bath can pint jars for at least 15 minutes and quarts for at least 20 minutes.


My family loves applesauce so I like to make up my own “single serve” jars by pouring applesauce into pint mason jars and storing in the refrigerator.


PANCAKES AND SYRUP

Instead of buying boxes of frozen pancakes or waffles I'll make these up ahead of time and freeze in ziploc bags or better yet, seal with a Foodsaver. Just pop them in the microwave or toaster to reheat.

Pancake Batter

1 cup flour
2 tsp. baking powder
1 egg
1/2 tsp salt
2 Tbsp. sugar
1 cup milk
3 Tbsp. vegetable oil

Mix ingredients together. Lightly grease and heat skillet or griddle. Pour batter and cook until golden brown and flip.


Maple Syrup

2 cups water
4 cups brown sugar
2 tsp maple extract

Bring water to rapid boil. Pour in all of the brown sugar at once and stir until completely dissolved. Remove from heat and stir in maple extract. Pour into sterilized jar and let stand for 24 hours at room temperature before using.  Store in refrigerator for up to 6 months.


Easy Beef And Cheese Burritos


Instead of buying boxes of frozen pizza rolls or taquitos, I make up a bunch of these burritos to keep stocked in the freezer. My family likes to dip these in my homemade salsa (Mrs. Wage’s mix that I can) when having these for a snack.

1 lb. ground beef (or turkey, or venison)
2 Tbsp. homemade taco seasoning (recipe below)
8-10 Tortillas (haven't tried making these yet)
1 cup shredded cheese (I use cheddar)

Brown ground beef, add taco seasoning and simmer for a few minutes.  Spoon ground beef mixture onto tortillas.  Sprinkle cheese on top of ground beef mixture. Roll up tortilla, making sure to "close" the ends.

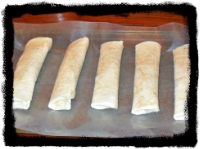
To freeze:  Place them on a cookie sheet covered with wax paper about an inch apart.  When frozen, place in ziploc bags or some other freezer-safe container.

To reheat, grab out of the freezer and pop them in the microwave for a minute or two.

To reheat in oven:  If thawed, heat in 350 degree oven for about 10 minutes. If frozen, heat in 350 degree oven for about 20-25 minutes.  (They may be a little crispy if using the oven to reheat)


Taco Seasoning Mix

6 tsp. chili powder
4 1/2 tsp. cumin
5 tsp. paprika
3 tsp. onion powder
2 1/2 tsp. garlic powder
1/8 tsp. cayenne pepper (I bought my cayenne pepper plants at Buchheit)

Mix ingredients together. Use 1-2 tablespoons per 1 lb. ground beef.


Chocolate Chip Cookies


You’ll never have to buy packaged cookies again if you plan ahead and have cookie dough in the freezer! To make it worth my while, I make up a couple batches at a time. My favorite chocolate chip cookie recipe will make about 5 dozen cookies in one batch.

Here’s my recipe:

1/2 cup butter
1/2 cup shortening
1 cup brown sugar
1/2 cup sugar
2 eggs
1 1/2 tsp vanilla
2 1/2 cups flour
1 tsp baking soda
1/2 tsp salt
1 - 12oz bag semi-sweet chocolate chips

Cream softened butter, shortening and sugars together.  Add eggs and vanilla, beat until smooth.  Sift together flour, baking soda and salt.  Mix together sifted ingredients and sugar mixture. Add chocolate chips and mix again.  Use spoon to drop onto cookie sheet. Place cookie sheet in freezer until cookie dough is frozen, then place in Ziploc bags for use the Foodsaver. When you’re ready to bake, preheat oven to 375 degree and bake for 8-10 minutes.

This is just a sampling of the homemade convenience foods you can make! Once you start making your own it’s hard to buy anything “convenient” at the grocery store. You’ll find yourself saying “I can make that so why buy it”! By planning ahead and investing a little time, you can fill your freezer, pantry and refrigerator with your own homemade convenience foods! You’ll save money and be eating healthier too!